Milky White Nails: How to Get the Look at Home
There are two whites in the nail aisle and they behave nothing alike. One is flat and opaque, the kind used for French tips and graphic art. The other is soft, slightly see-through, and looks like skim milk poured over the nail. That second one is what everyone means by milky white, and it is also the one that goes streaky, patchy, and slightly gray if it gets treated like regular polish.
The look itself is forgiving once the method is right. It suits short nails, grows out without an obvious line, and works with almost every outfit. The application is where people get stuck, usually because of how the formula is built rather than any lack of skill.
Here is what the finish actually is, how to choose a formula, and the steps that make the difference between a clean milky manicure and a cloudy one.
What Milky White Actually Means
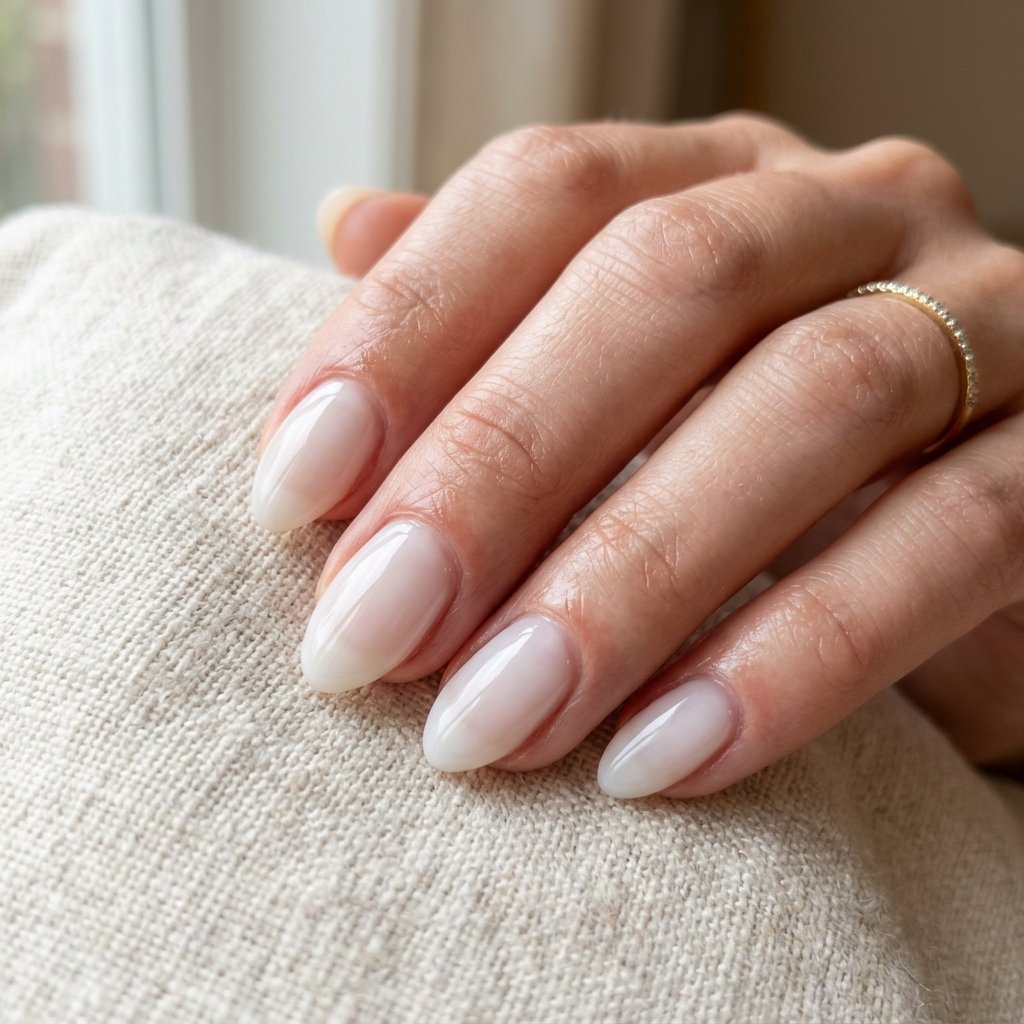
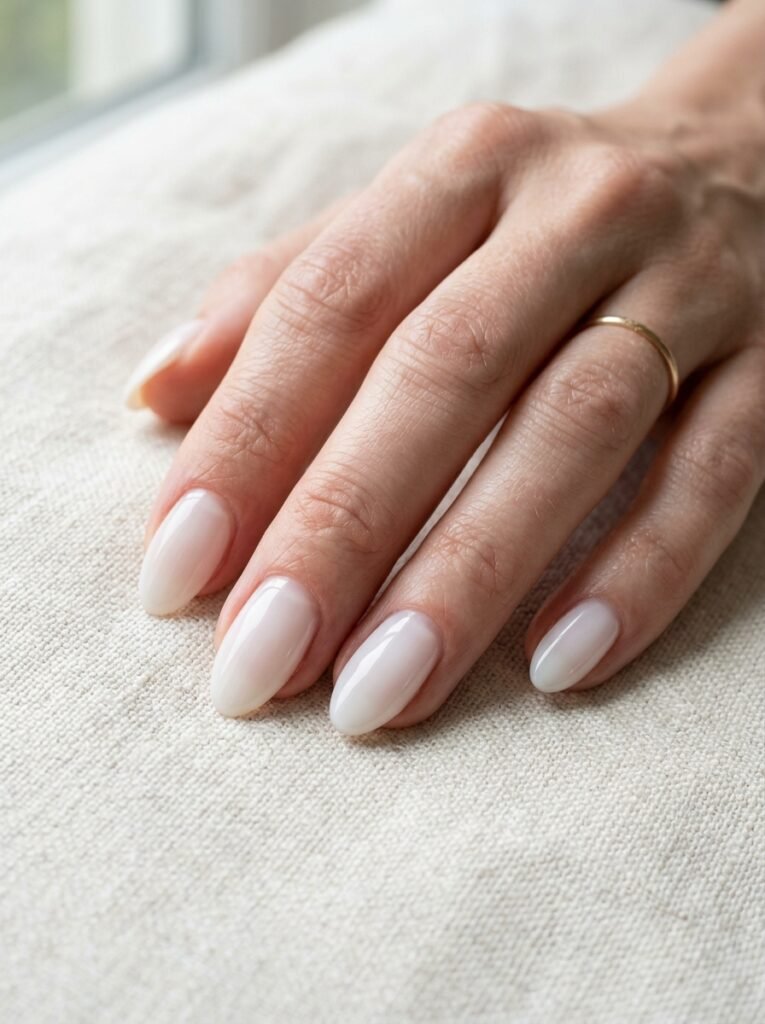
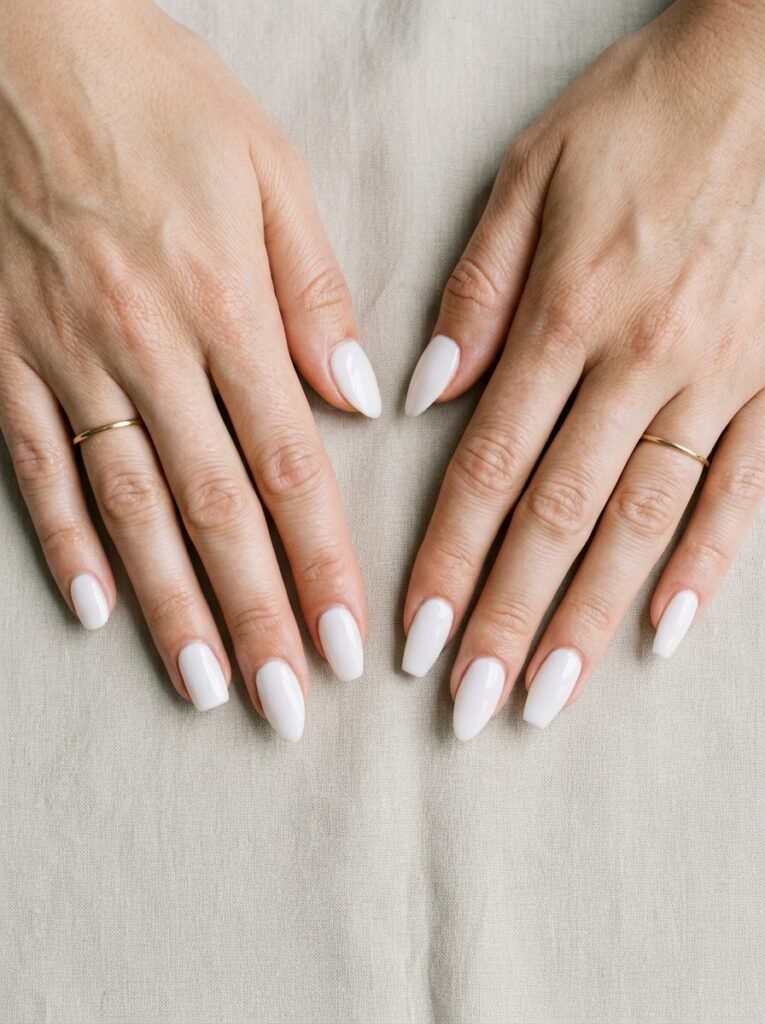
Milky white is a sheer or semi-sheer polish with a soft white base, built up in thin layers until it looks even. The color comes from very fine white pigment suspended in a clear or lightly tinted base, which is why one coat looks like nothing and four coats can look chalky.
The whole point is translucency. You should still be able to see a hint of the natural nail underneath, including the lighter half moon near the cuticle. Once it goes fully opaque, it stops reading as milky and starts reading as white polish.
Related finishes get grouped under the same name, and they are not identical:
- Sheer milky. The purest version. Two to three thin coats over bare nail.
- Blush milk. A milky white with a pink or peach undertone, which flatters most hands and hides ridges better.
- Jelly or lychee. Slightly more translucent with a squishy, wet-looking finish.
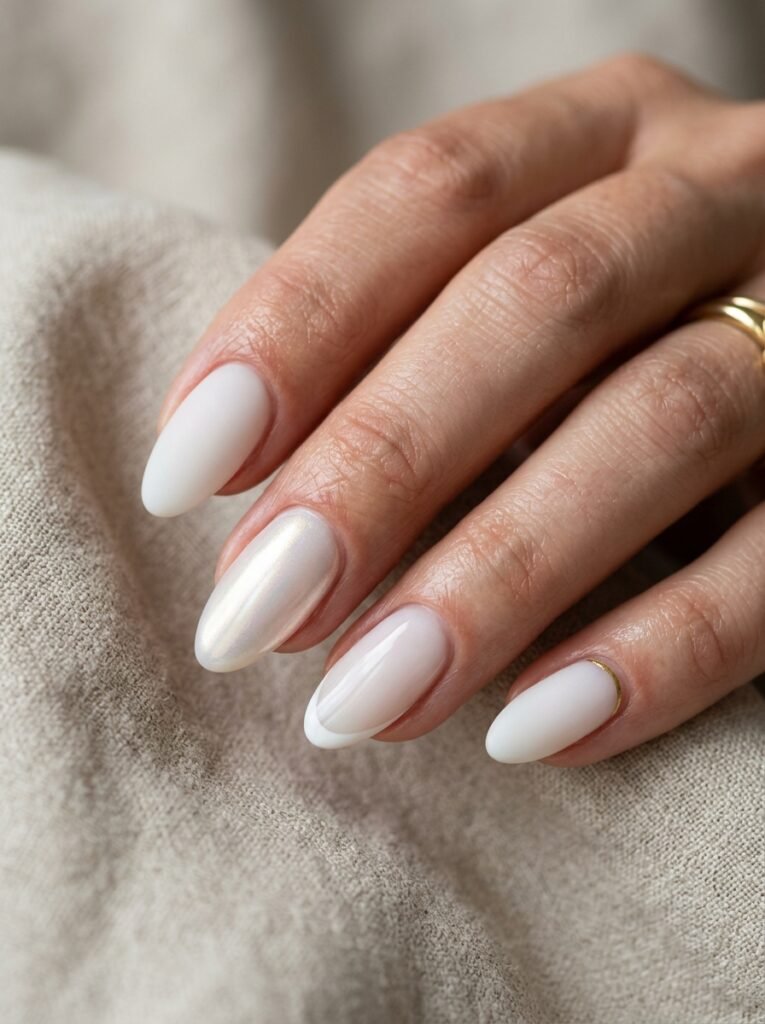
- Glazed milk. Milky base with a fine pearl or chrome powder buffed on top.
- Milky French. A sheer milky base with a soft white tip, blended rather than sharp.
Picking a Shade That Works With Your Hands
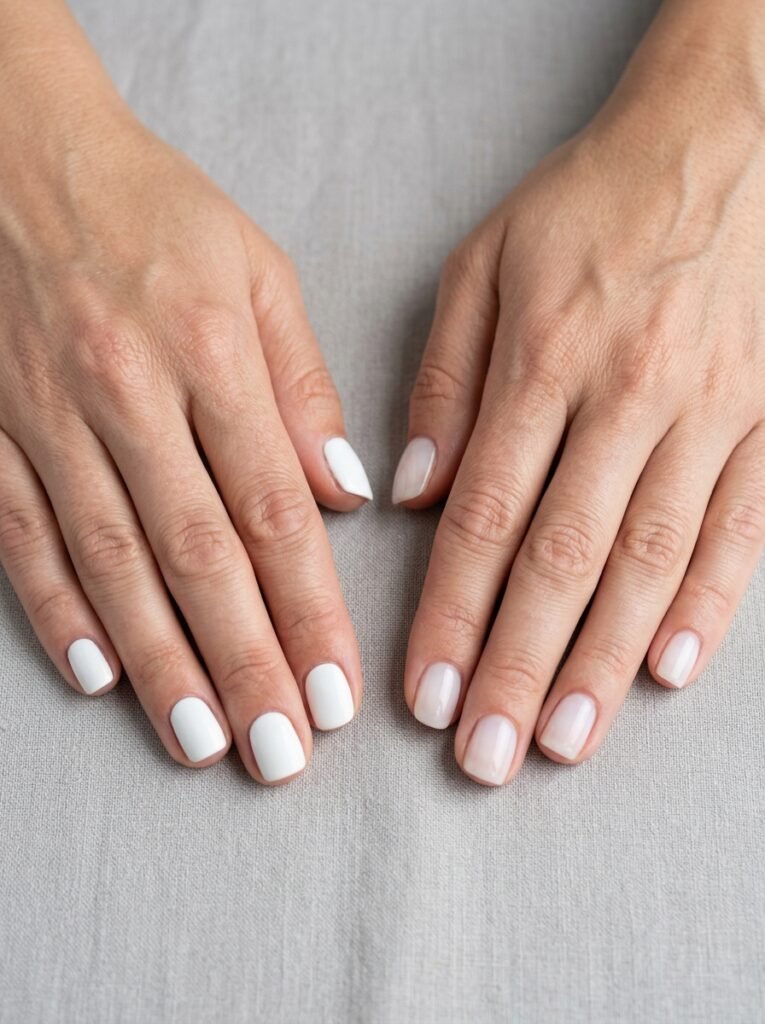
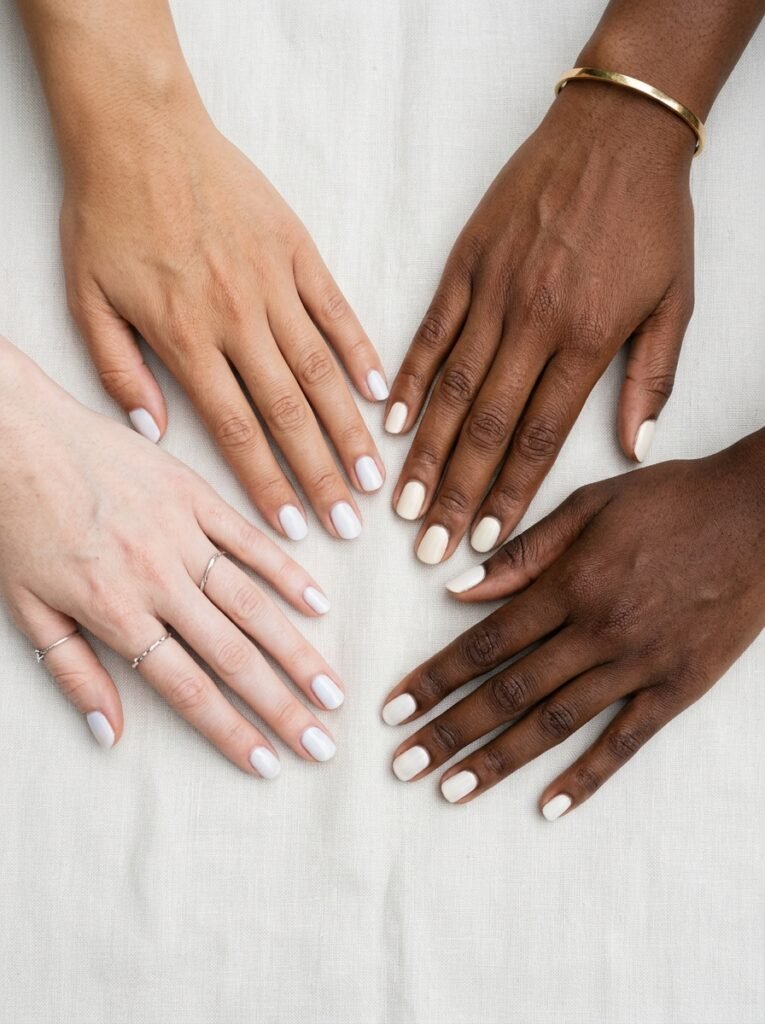
The single most common complaint with this look is that it turns the hands gray or ashy. That is almost always an undertone mismatch.
Cool, blue-based whites suit fair skin with pink undertones. Warm creams and off-whites suit olive and golden undertones. On deeper skin tones, a very sheer stark white can look chalky, so shades with a warmer or slightly beige milk base tend to sit better, and adding a coat or two more pigment helps it read as intentional rather than faded.
A quick test: paint one coat on a single nail and look at it in daylight, not bathroom lighting. If the hand looks duller than the bare one next to it, the undertone is wrong.
Choosing the Formula
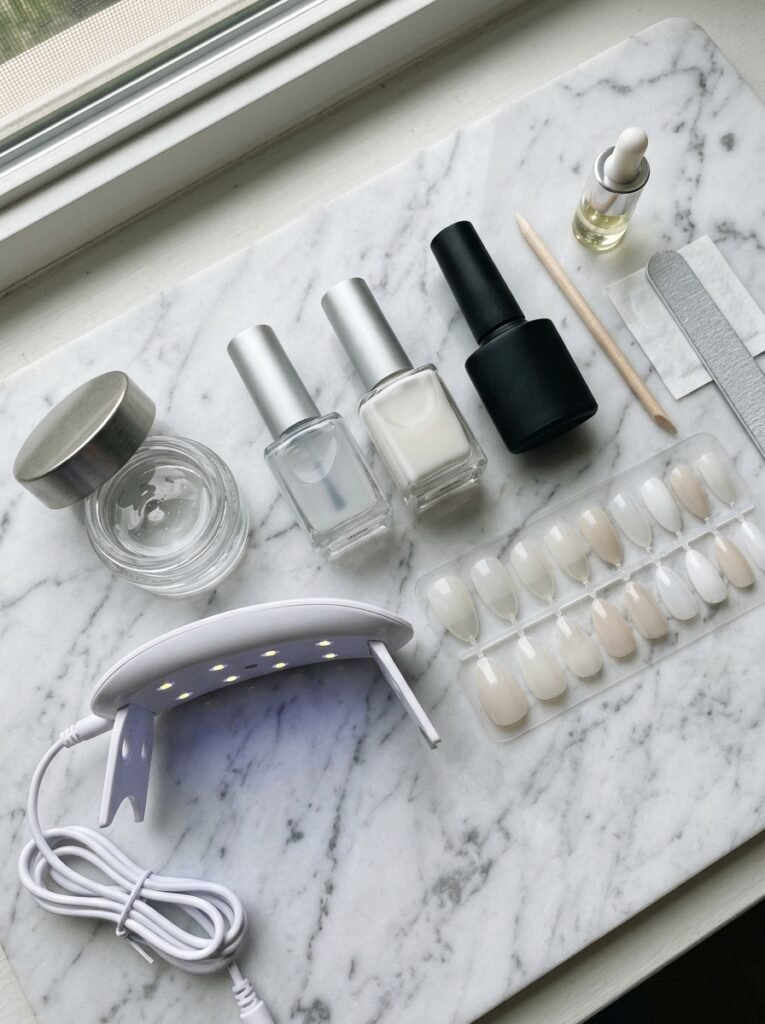
The finish is achievable with several products, and the trade-offs matter more than the price.
- Regular polish. Cheapest, easiest to remove, and the most likely to streak. Best for a look that lasts three to five days.
- Gel polish. Cures under a lamp, stays glossy for two to three weeks, and layers beautifully because each coat sets flat. Requires a lamp and proper removal.
- Builder gel in a milky shade. Adds strength and length as well as color, and the sheer versions are made for exactly this look. More product control needed.
- Dip powder. Very durable, but the powder tends to look opaque quickly, which fights the whole point.
- Press-ons. The shortcut. Milky sets are widely available now and skip the application problem entirely.
If gel is the choice, curing lamps come with their own considerations around UV exposure and product handling. The FDA’s cosmetics pages cover nail product safety information worth reading before setting up at home.
Prep Decides How the Color Sits
Sheer formulas show everything underneath, so preparation matters more here than with an opaque color.
- Remove all old polish and oil. Any residue creates a patch where color will not grab.
- Shape before anything else. File in one direction to a shape you actually like, since the color will not hide an uneven edge.
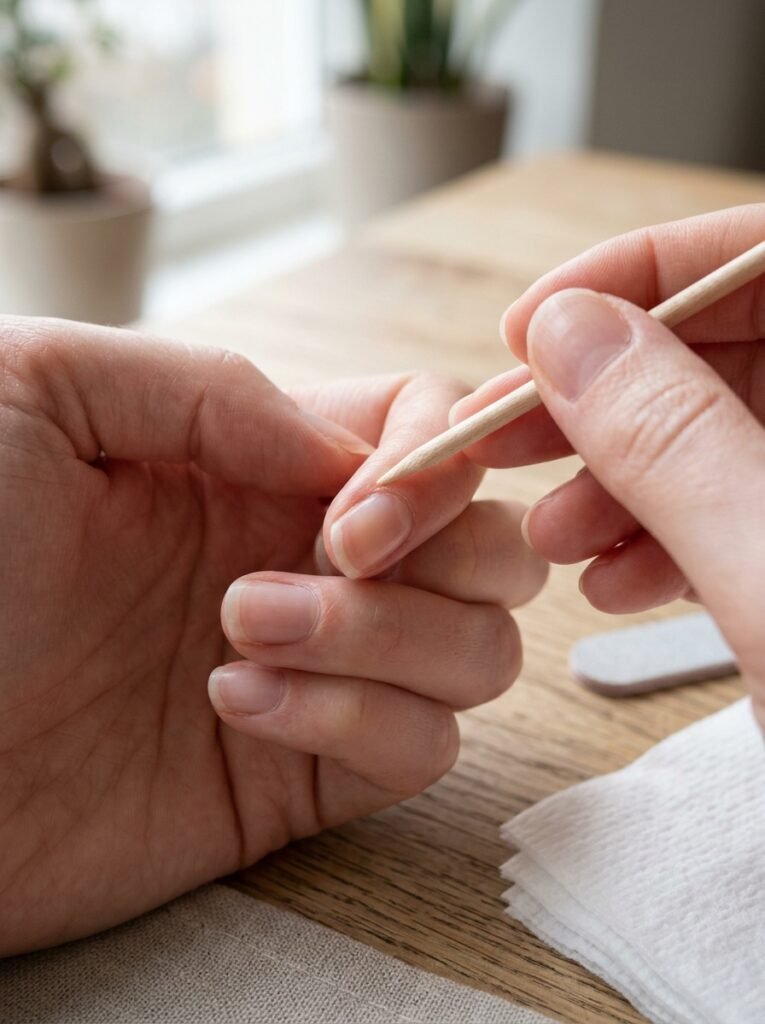
- Push back the cuticle gently. Cutting cuticles is best avoided at home, and the American Academy of Dermatology has general nail care guidance if you want the reasoning.
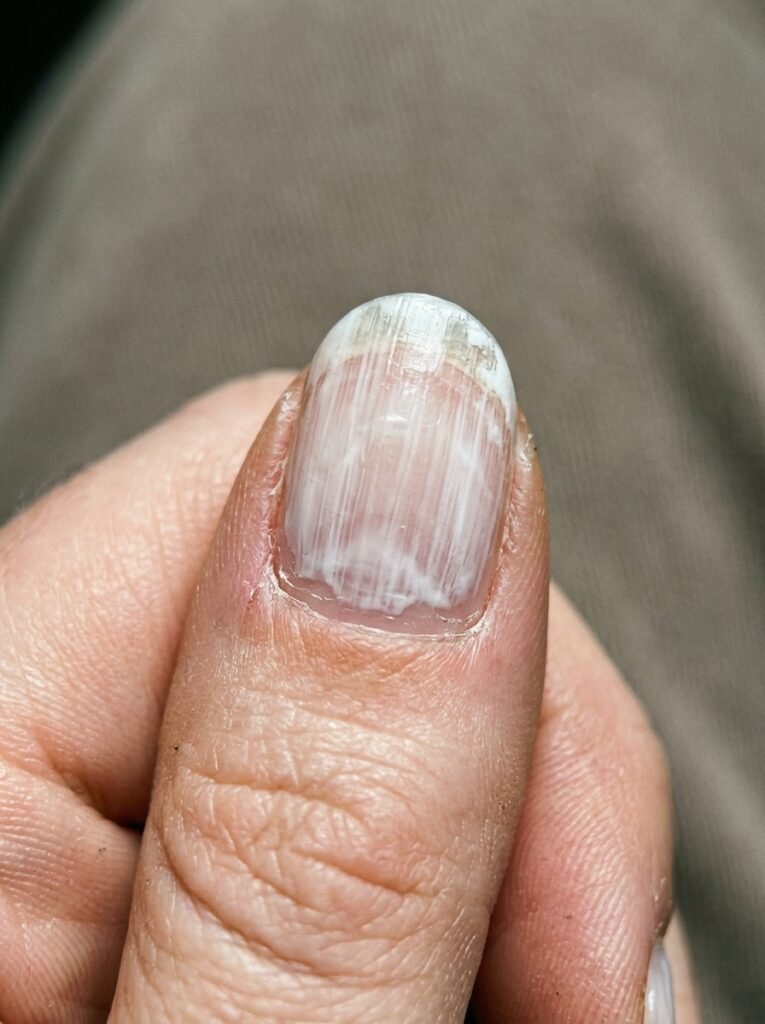
- Buff very lightly, if at all. Just enough to knock down shine. Heavy buffing thins the nail and creates dips that sheer color pools into.
- Wipe with alcohol or a dehydrator. This step is skipped constantly and it is the main reason polish lifts early.
- Skip hand lotion beforehand. Oil is the enemy of adhesion.
A ridge filling base coat helps a great deal with milky shades. Ridges catch pigment unevenly, and sheer color highlights them rather than covering them.
Application: Thin Coats, More of Them
This is the technique that changes the outcome. Milky polish needs three thin coats, sometimes four, never two thick ones.
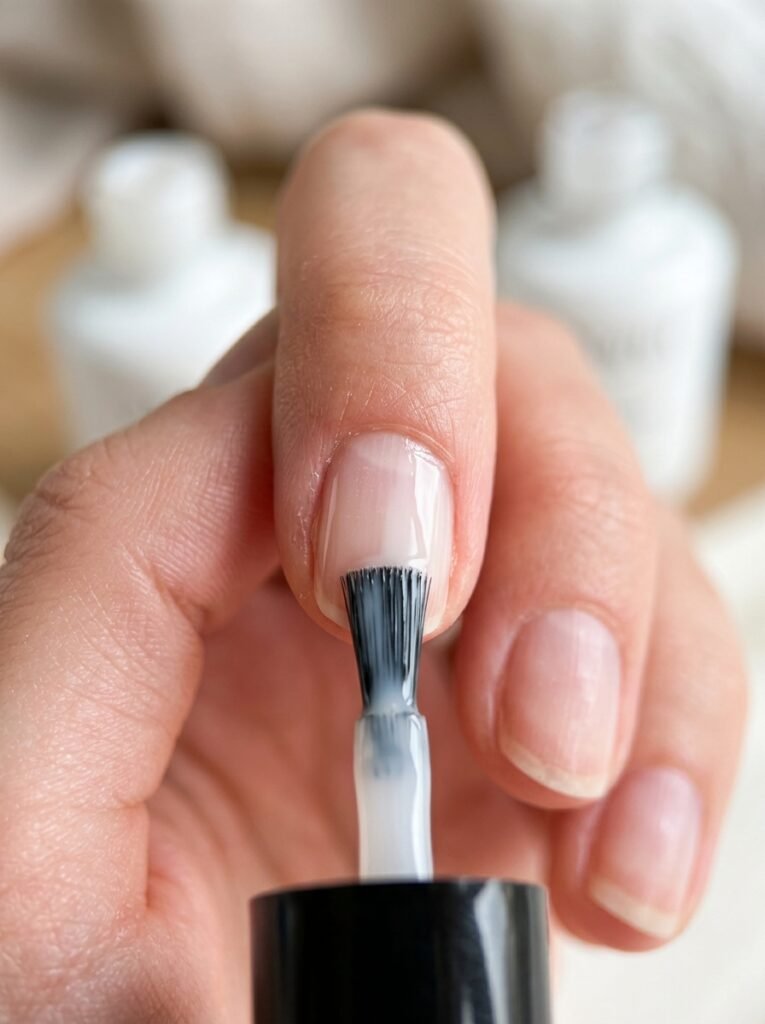
Base coat first, thin and fully dry. For gel, cure fully before moving on.
Coat one should look uneven and patchy. That is correct. Wipe most of the product off the brush, then place it a millimeter from the cuticle, push gently toward the base, and pull down the center. Two more strokes at the sides.
Coat two evens out the density. Work in the same order every time so nothing gets missed.
Coat three is the one that makes it look finished. If it is still patchy, add a fourth, but stop before the half moon disappears entirely.
Cap the free edge on every coat by running the brush along the tip. This is what prevents chipping at the ends.
Top coat last. A glossy top coat gives the wet, glassy version. A satin or matte top coat gives the softer, blurred look that has been popular lately.
Let each coat set before adding the next. With regular polish, that means at least two minutes, and rushing it is what causes the dents and drag marks that show up ten minutes later.
Fixing What Usually Goes Wrong
- Streaks. Too much product on the brush, or coats applied before the previous one set. Thin it out and slow down.
- Bald patches at the tips. The free edge was not capped, or oil was left on the nail during prep.
- A gray cast. The undertone is too cool for your skin, or too many coats have gone on.
- Bubbles. Shaking the bottle instead of rolling it, or applying in a warm room too quickly.
- Shrinkage away from the cuticle. Gel cured too fast or applied too thick near the base.
- Visible ridges. Add a ridge filling base coat, or switch to a slightly more pigmented milk.
- Yellowing over time. Always use a base coat, particularly on natural nails that stain easily.
Length and Shape That Suit the Finish
Milky white is one of the few finishes that looks as good on short nails as long ones, which is part of why it spread so quickly.
Short squoval and round shapes look clean and low maintenance. Almond softens the hand and works even when the length is limited, and the site’s guide to almond shape on shorter nails covers how to file for it when the length is not really there. Longer coffin and square shapes work too, though sheer color tends to show the free edge line more at length.
One practical advantage: because the color is close to the natural nail, grow-out is barely visible. A milky manicure at day twelve looks far better than a dark one at day six.
Making It Last
- Refresh the top coat every two or three days with regular polish. It restores gloss and adds days.
- Cuticle oil daily. It does not extend the polish itself, but it keeps the surrounding skin looking neat, which is most of the finished appearance.
- Gloves for dishes and cleaning. Hot water and detergent shorten the life of any manicure.
- Avoid using nails as tools. Opening cans and scraping labels is what causes most chips.
- Keep the free edge filed. A tiny snag turns into a peel within a day.
Variations Once the Base Is Down
The milky base is a starting point rather than a finished look.
- Micro French, a hairline white tip over the milky base
- Chrome or pearl dust buffed lightly over the top for the glazed finish
- A single accent nail with a small dot, star, or heart
- Sheer milk with a hint of shimmer through the top coat
- Matte finish on one or two nails for contrast
- Milky base with a thin gold line along the cuticle curve
Keep the additions small. The appeal of this look comes from restraint, and heavy art on a sheer base usually fights it.
Removing It Without Damage
For regular polish, standard remover and a cotton pad is fine, though acetone dries the nail and skin, so oil afterward helps.
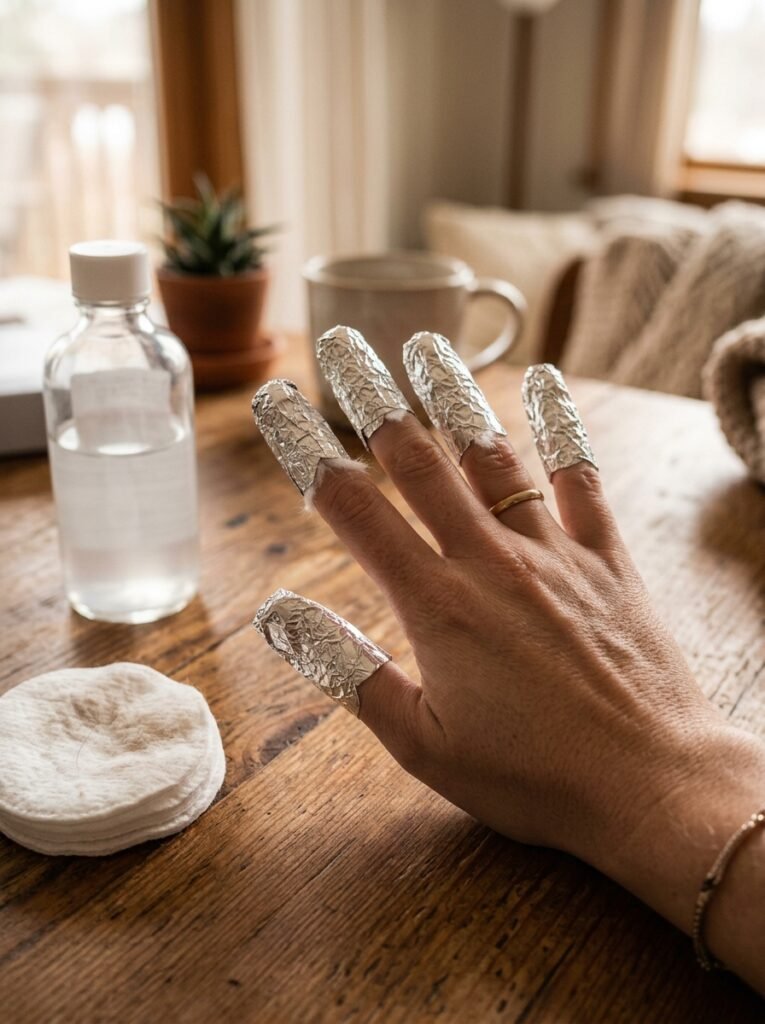
For gel, file off the shiny top layer, soak cotton in acetone, wrap each nail in foil for ten to fifteen minutes, then push the softened product off gently. If it resists, wrap for longer rather than scraping. Peeling gel off takes layers of the nail plate with it, which is the fastest way to end up with thin, bendy nails that will not hold a manicure at all.
Give nails a short break between sets if they start feeling soft or looking dull.
What It Costs and How Long It Takes
A regular polish version needs a base coat, a milky shade, and a top coat, and takes about twenty five minutes including drying. Expect three to five days of wear.
A gel version adds a lamp and a cleanser to the list, takes about forty minutes the first time, and holds for two to three weeks. After the initial setup, the per-manicure cost drops well below a salon visit, which is the main reason so many people have moved this look home.
Worth Trying
Milky white is one of the more forgiving finishes to learn on, since mistakes are subtle and grow-out is invisible. Start with a blush toned milk if the pure white looks harsh, keep the coats thin, and give each one time to settle.
More shades, shapes, and seasonal ideas are collected in the nail ideas section of the site.